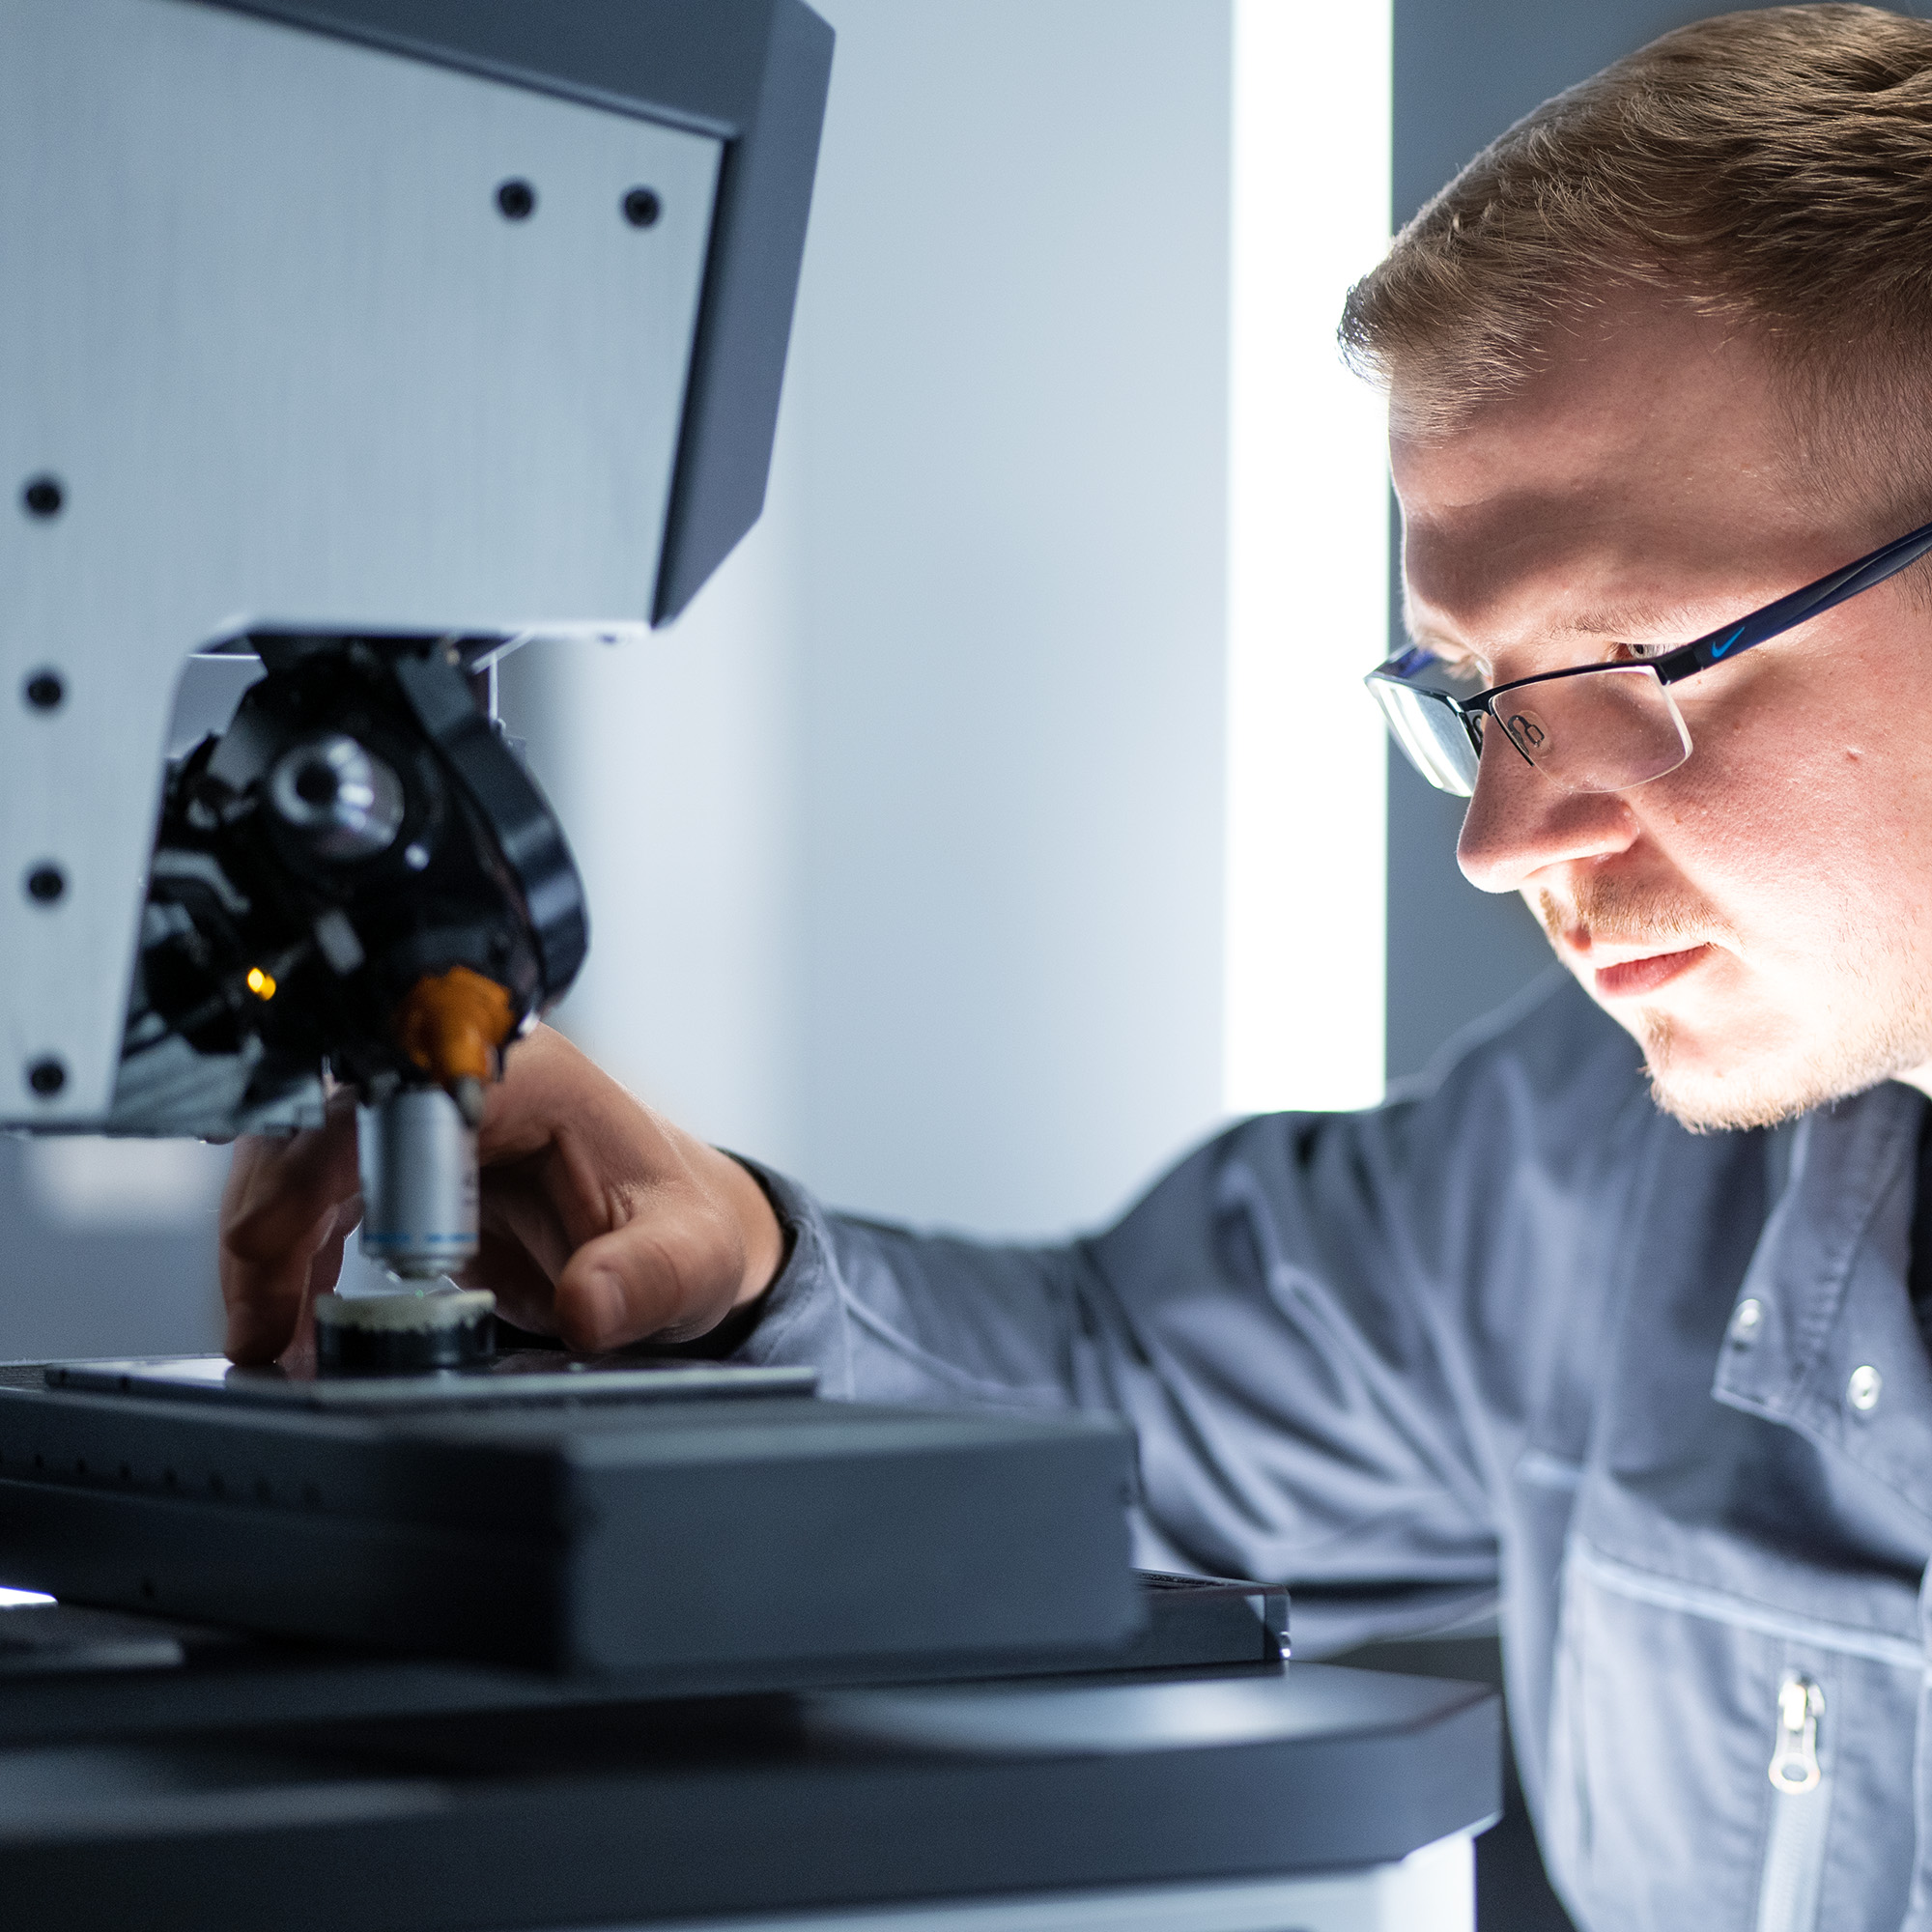
Sample preparation in metallography
Sample preparation forms an integral part of metallography and is the basis of the microscopic examination of solid materials. Sample preparation is comprised of several steps, with a number of procedures available. To ensure that the sample is not corrupted and that its original properties are preserved, it is always vital to apply the correct procedure.
The appropriate metallographic process
Each step of sample preparation requires the selection of suitable chemical and physical procedures, with appropriate consumables. A thorough knowledge of physics and chemistry is a basic prerequisite for every metallographer or material tester.
The decision about the appropriate preparation procedures must be based on the characteristics of the workpiece. These essentially include the nature of the workpiece, the type of material, and the treatments to which the workpiece has been subjected.
For example, wet abrasive cutting is a good choice for titanium workpieces, while vacuum infiltration is suitable for particularly porous materials. Classification into material groups can assist in the selection of suitable procedures.
Preparatory steps at a glance
| Preparatory step | Possible procedures |
|---|---|
| Sampling | Cutting |
| Sawing Wet | |
| Cutting | |
| Sample fixation | Hot embedding |
| Cold embedding | |
| Vacuum infiltration | |
| Grinding | Manual |
| Semi-automatic | |
| Fully automatic | |
| Polishing | Manual |
| Semi-automatic | |
| Fully automatic | |
| Electrolysis | |
| Etching | Immersion |
| Colour etching |
Potential errors and quality inspection
Errors can occur at every step of the sample preparation and must be investigated with targeted quality control. Only if no errors are detected can the next step be performed. Possible errors include:
- Deformation
- Cracking
- Pitting
- Changes in the microstructure
- Detachment of coatings
- Smearing
- Scratches and gouges
- Detachment of phases
- Overetching
The microstructural analysis
The actual analysis is performed as soon as the sample has been successfully prepared. For this, the microstructure is examined under the digital microscope. The desired microstructure does not necessarily have to be of the highest quality. The analysis determines a quality that is sufficient for the specific use of the workpiece.
Areas of application
Metallography is used for quality assurance in all branches of the metal industry. The areas of application include:
- Determination of layer thicknesses
- Microstructural analysis
- Procedure tests (e.g. heat treatments)
- Inspection of the particle size distribution in the event of damage
- Monitoring of series production parts
- Inspection of semi-finished products and cast iron parts
- Assessment of weld seams
Practical examples from the field of metallography
A workpiece is to undergo metallographic analysis following its carburisation. The drawing specification specifies the carburisation depth and the absence of residual austenite. These values must now be verified.
Maintaining the right temperature throughout the entire sample preparation is essential. The process begins with the request for the sample. Cooling with water during the cutting process keeps the sample from being impaired by heat generation.
The next step is the cold or warm embedding of the sample. Since the risk of fissure formation is greater during cold embedding, this example uses hot embedding with a hot embedding agent, which can be used at temperatures as low as 150°C. The temperature during hot embedding must not exceed 180 °C, as any residual austenite may otherwise be converted to martensite. This would falsely qualify the sample as conforming, even though this is not true for the component.
If the quality control result is satisfactory, the sample is subjected to grinding and polishing. The carburised zone is made visible by means of etching. As the last step, a microhardness test checks the carburisation depth as per the DIN requirement.
Process locations
At our Härtha hardening plant we offer metallography as a means to assure the quality of our metalworking processes. Refer to our interactive location overview to find out the processes offered at each location.